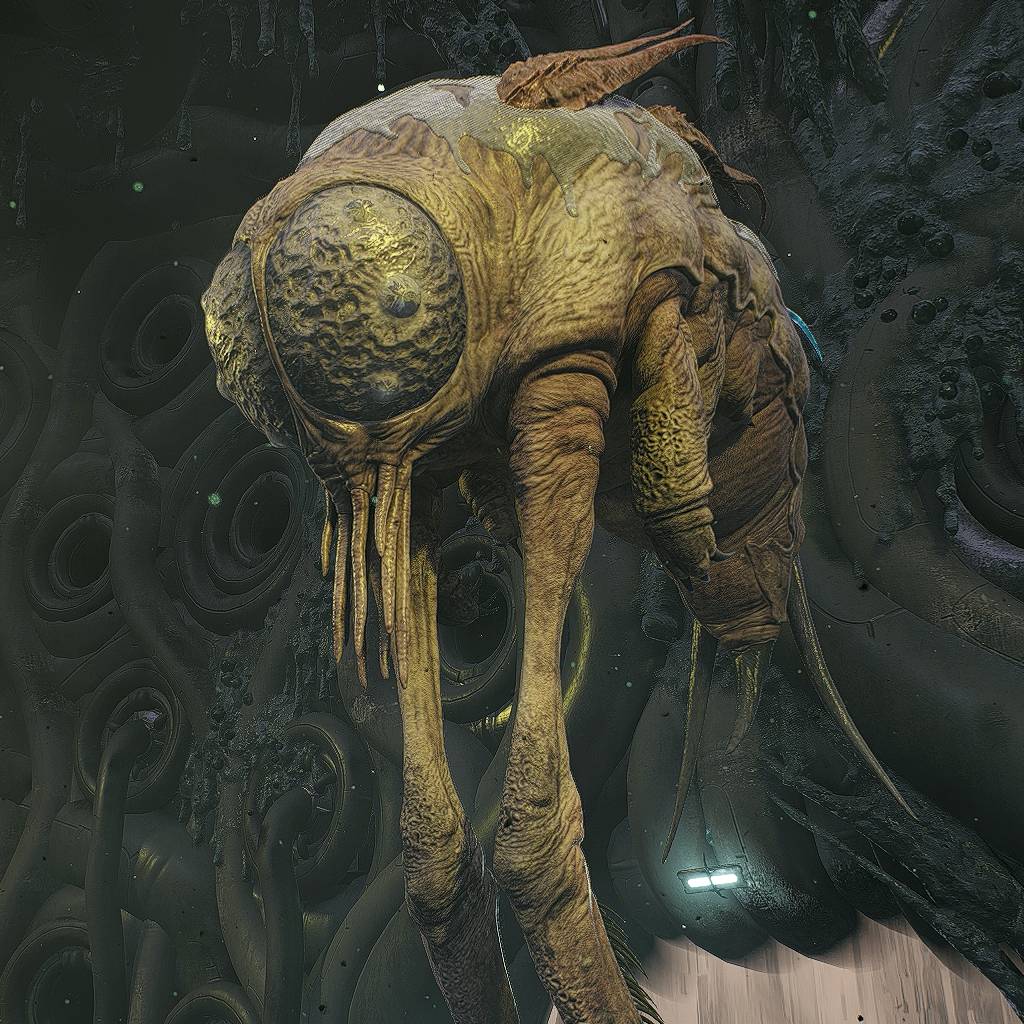
Primogenitor
- Damage25
- Health850
 0
0 0
0 0
0 0
0
- Experience Gain
0 - Weakspot
Eyes - World
N'Erud - Location
The Hatchery - Added in
Base Game
- Damage25
- Health850
 0
0 0
0 0
0 0
0
- Experience Gain
0 - Weakspot
Entire body
“Invertebrate organisms from the homeworld mindlessly clung to the sides of N'Erud and embarked on the millennia-long journey with us. Resilient to the end, more so than the Drzyr themselves. Ha. Are they, too, worthy of preservation?”
Strategy[edit | edit source]

Reason: Missing strategy guide
Hatcheries[edit | edit source]
The Primogenitor begins the fight attached to a Barnacle Hatchery. The creature will float in circles around the arena's center, periodically bombarding the Traveler with a long ranged three-shot barrage.
While attached to the Hatchery, the Primogenitor acts as an additional weakspot; shooting it deals damage to both the Hatchery and the boss itself. It will however change spots after every attack, shuffling between three of the holes on the back of the Hatchery.
Throughout the arena there are also numerous Hatchery corpses. If destroyed by either the Hatchery projectiles or by the Traveler, they will release a swarm of Small Space Crabs.
Once the main Hatchery creature reaches ~15% health remaining, a secondary Hatchery will descend from the ceiling. It too will use a burst of three shots, but instead of a targeted attack it drops the projectiles along its path. This both presents a hazard when doding the shots of the main Hatchery, and will also often destroy the corpses scattered around the arena, unleashing the Space Crabs within.
The secondary Hatchery has a roar ability, which will rupture a nearby corpse.
After about 7s a new corpse will drop from the ceiling to replace it. Its impact will do a small amount of damage, enough to rupture any other corpses it might fall onto.
At 70% of the Primogenitor's health, the main Hatchery will gain a roar ability of its own, causing projectiles to erupt from the corpses. The number of projectiles will increase as the Primogenitor loses health.
At 50% Primogenitor health, another secondary Hatchery will descend. The number of corpses that drop per roar also doubles.
Any Hatchery killed bursts into a swarm of Small Space Crabs. Secondary Hatcheries are replaced roughly 14s after they died.
Killing the main Hatchery causes the Primogenitor to fall to the ground, temporarily entering the battle itself.
The Primogenitor[edit | edit source]
The Primogenitor itself behaves nearly identical to a Small Space Crab, lacking direct damage and leaping at the Traveler to latch on. If it attaches, the effects are much grater than those of the base variant, adding 60 weight, as well as 20% build up of Contamination per second.
It can be knocked off by melee attacks or dodging, though unlike the base variant it does not take damage from the latter.
After 20s, if it isn't still latched on, it will retreat into the pipes. Immediately, another main Hatchery will appear, with the Primogenitor attached to its back.
Higher Difficulties[edit | edit source]
On Veteran difficulty and above, the secondary Hatchery's roar will cause two corpses to drop from the get-go, instead of only below 50% Primogenitor health.
Rewards[edit | edit source]
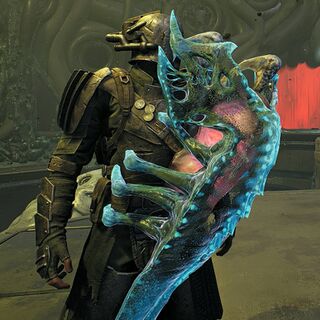
- Cracked Shell used to craft Space Crabs Mod.
 Tome of Knowledge
 xxx
xxx X
X
Trivia[edit | edit source]
- The Primogenitor attached to the Hatcheries and the one attacking on the ground appear to be separate entities, with the displayed healthbar seemingly being a third entity that shares damage done to either. This could explain certain oddities with the Primogenitor that other bosses do not share:
- Status effects inflicted on the ground Primogenitor do not get displayed under the health bar.
- The Primogenitor can be affected by the Slow effect, which bosses are usually immune to.

